How to Open a Web3 Wallet
Think of your Web3 wallet like your Web2 email address. To interact with all Web3 applications you will need to set up a Web3 wallet.
✋Before you jump in…
If you haven’t already, be sure to join our newsletter to stay up to date with all of the details of our project, interesting articles we create and the latest Sisterhood Club podcast episodes:
Awesome! Now you’ve done that…
👋 There are 2 ways to use this article,
You can either watch the 6-minute video (link below) where Kyle; Sisterhood Clubs COO takes you through a step-by-step video tutorial on how to open up a Web3 wallet using Metamask. Or, you can follow the 10 easy steps below.
🎥 Watch: How to Set Up a Web3 Wallet
Once you have set up your web3 wallet you can add your address to the Golden Goddess List
📚 READ: Step by Step Guide on How to Set up a Wallet with MetaMask
As we transition into the world of web3, everyone will need to open up their own personal wallet - think of your web3 wallet like your web2 email address. You will need your wallet to interact (sign-in) into web3 apps.
I like to think about it this way; In web2, It’s okay for people to know your email address, but you will never tell anyone your password. In web3, it’s okay for people to know your wallet address, but you’ll never hand out your seed phrase.
There are other Web3 wallets that you can use, but one of the most popular ones is Metamask, and this is the one we’ll be using today for the guide. But know there are others out there.
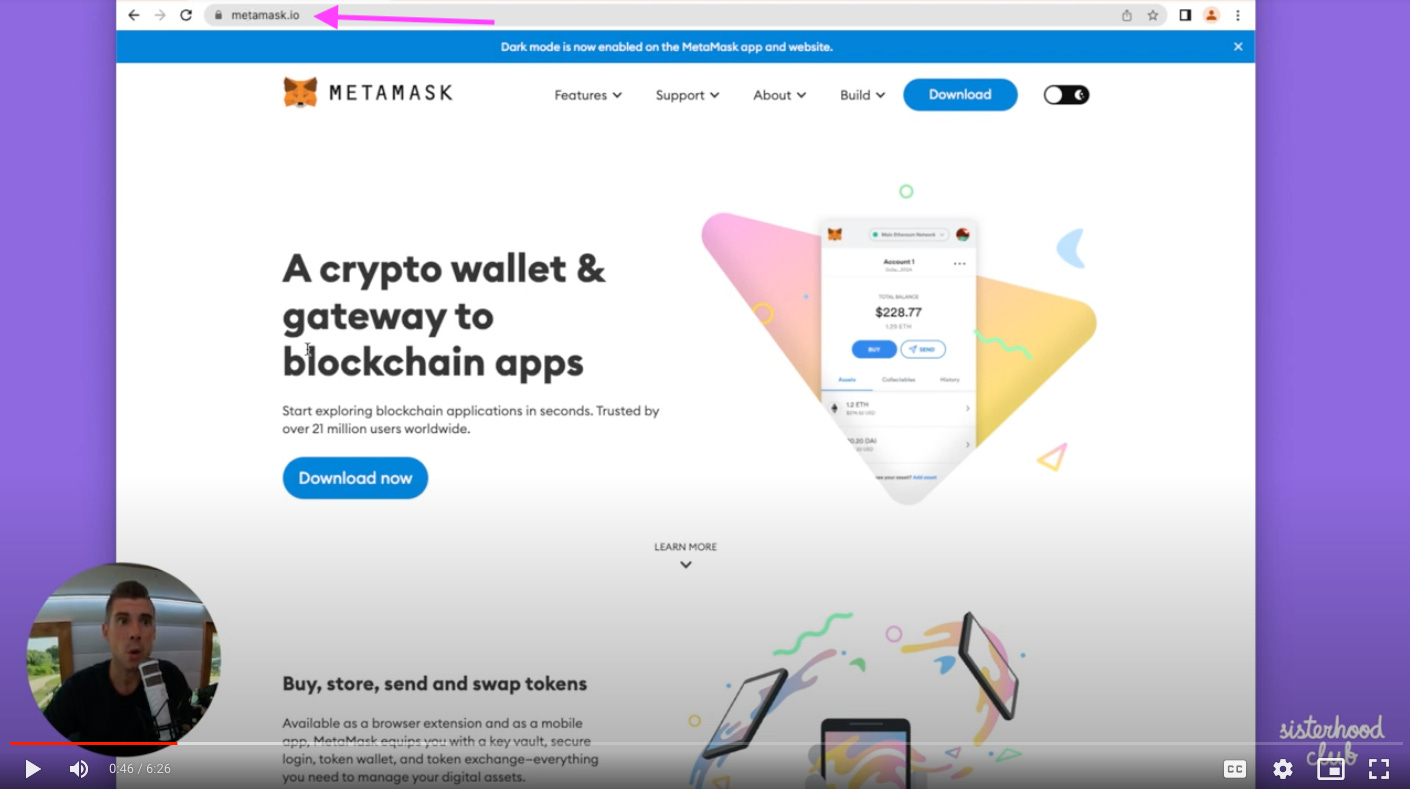
Step 1: Head to metamask.io
Type into your web browser or click this link;
If you enter “Metamask” into Google search, please ensure the URL reads as below in the screenshot. (There have been instances where Google Ads will show a website that mimics Metamask and you download an incorrect chrome add-on).
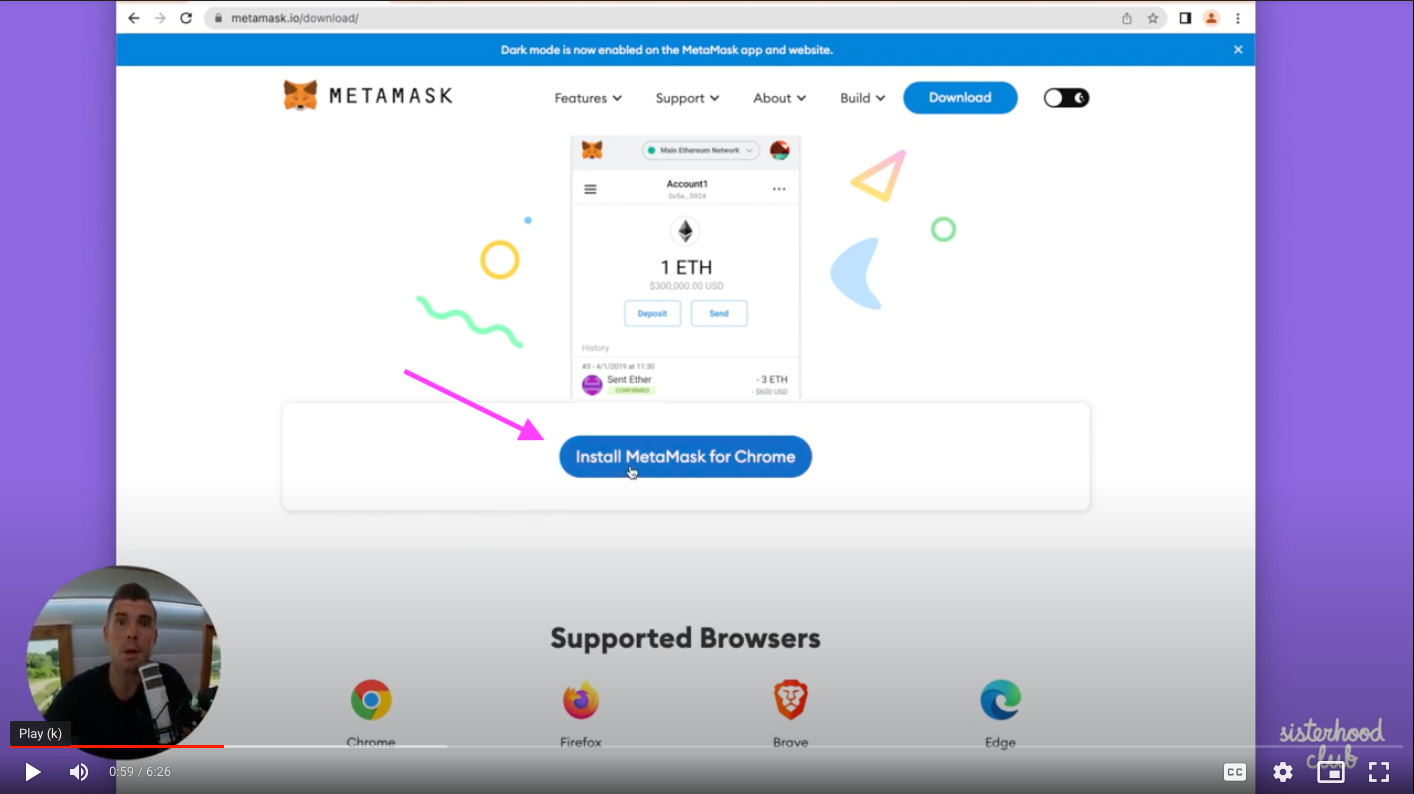
Step 2: Scroll to “Install Metamask for (your Browser)”
Press “Install Metamask for (Insert Your Browser here)” for this guide I was using Chrome so I will install it for exactly that.
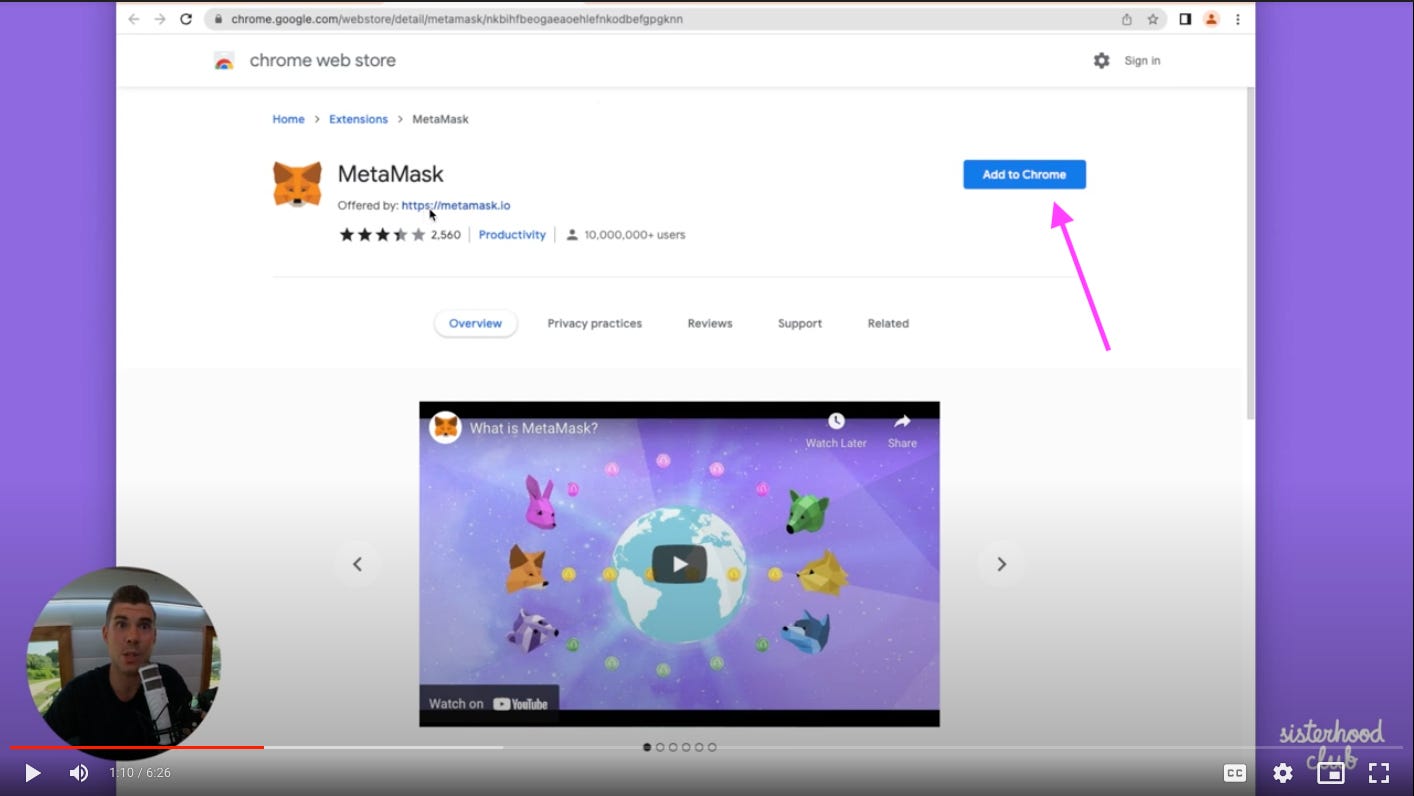
Step 3: Add Metamask to Chrome
You will then be taken to the Chrome web store. From here, you can double-check that the extension is “Offered by: https://metamask.io”. Once all is checked, “Add to Chrome”
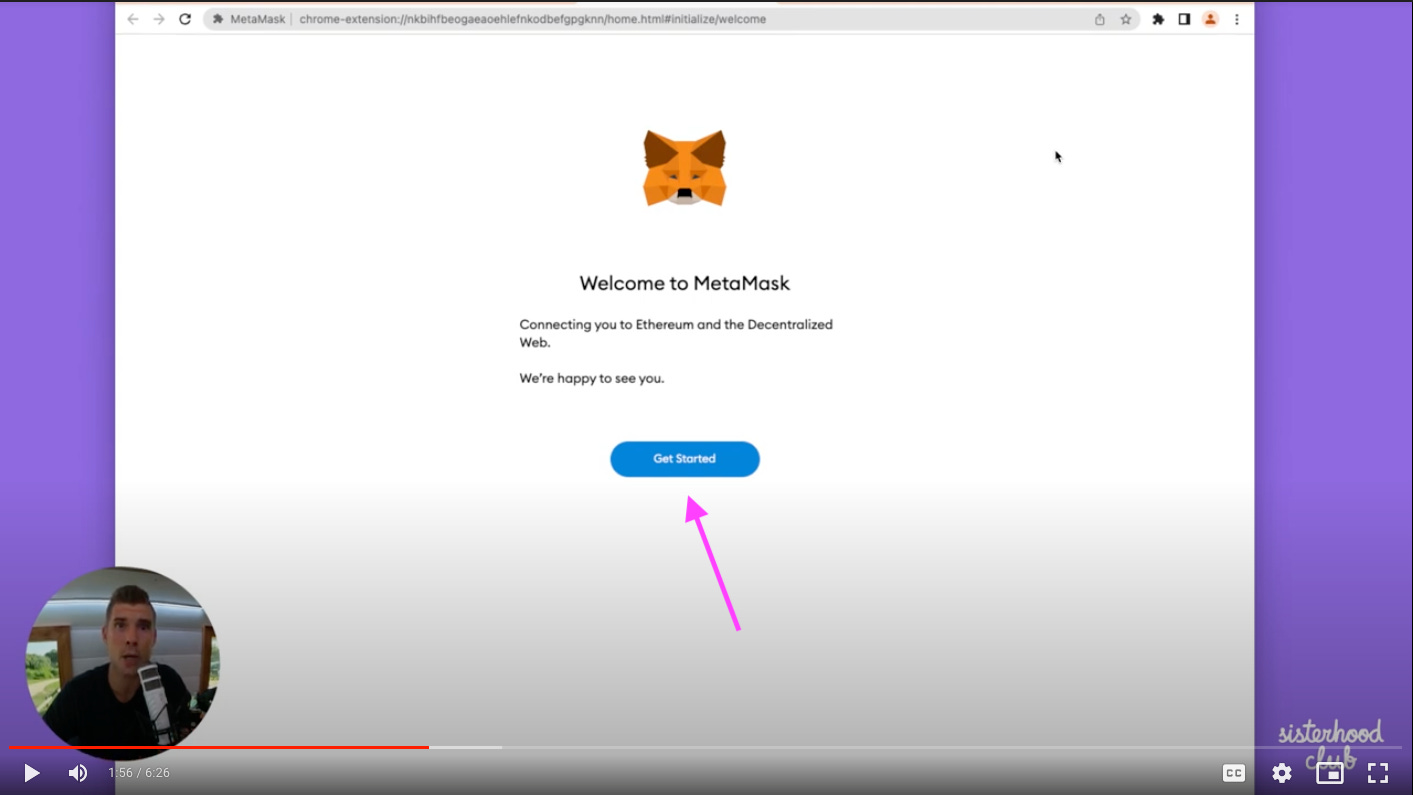
Step 4: Once Downloaded press “Get Started”
After the extension has finished downloading, you should automatically be re-directed to the page below. Just click on “Get started”.
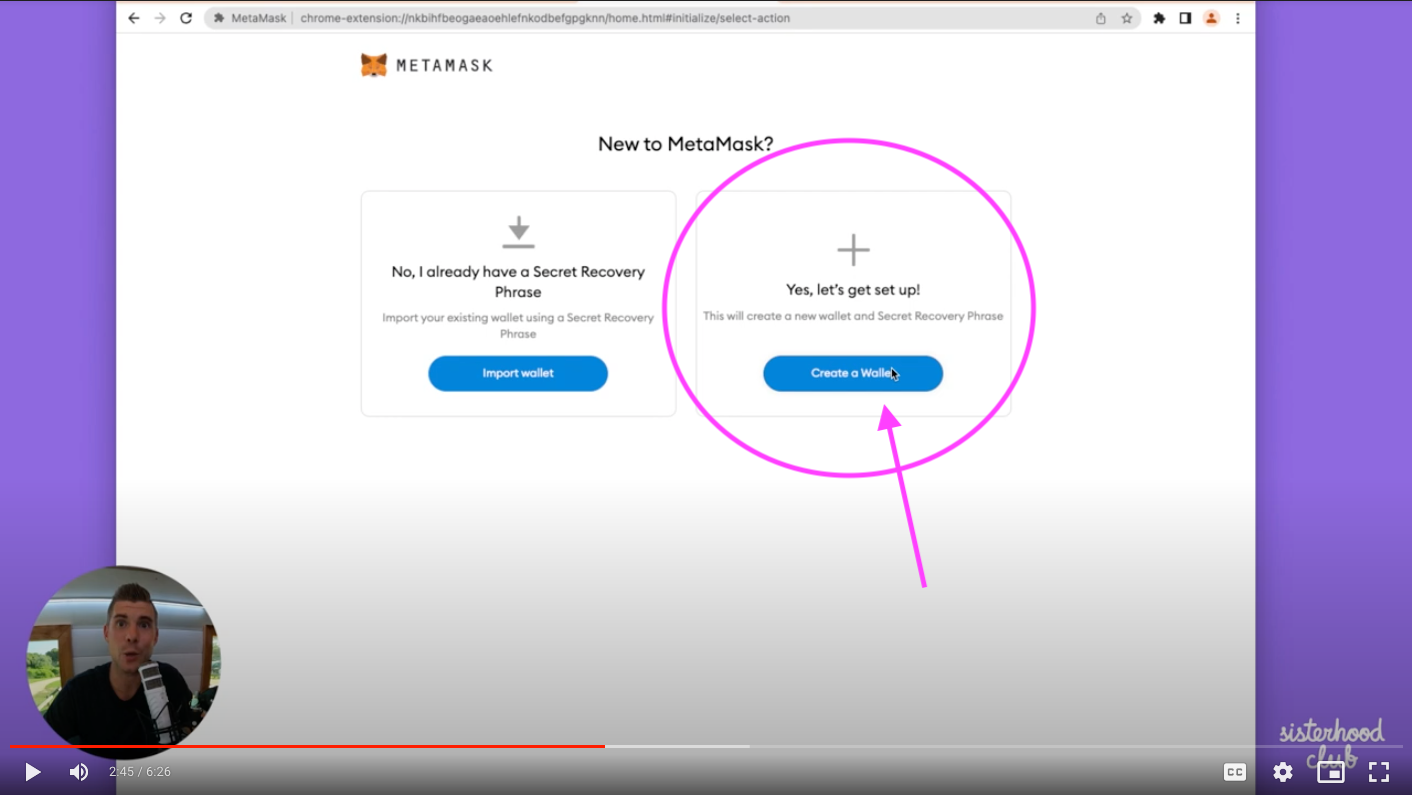
Step 5: Choose “Create a Wallet”
Once you have finished setting up your wallet you will be able to take it everywhere with you. All you need to have is your “secret recovery phrase” (which we’ll get onto in a second). This means you can access your wallet from anywhere, as long as you have access to the internet.
For the first time; choose “Create a wallet”
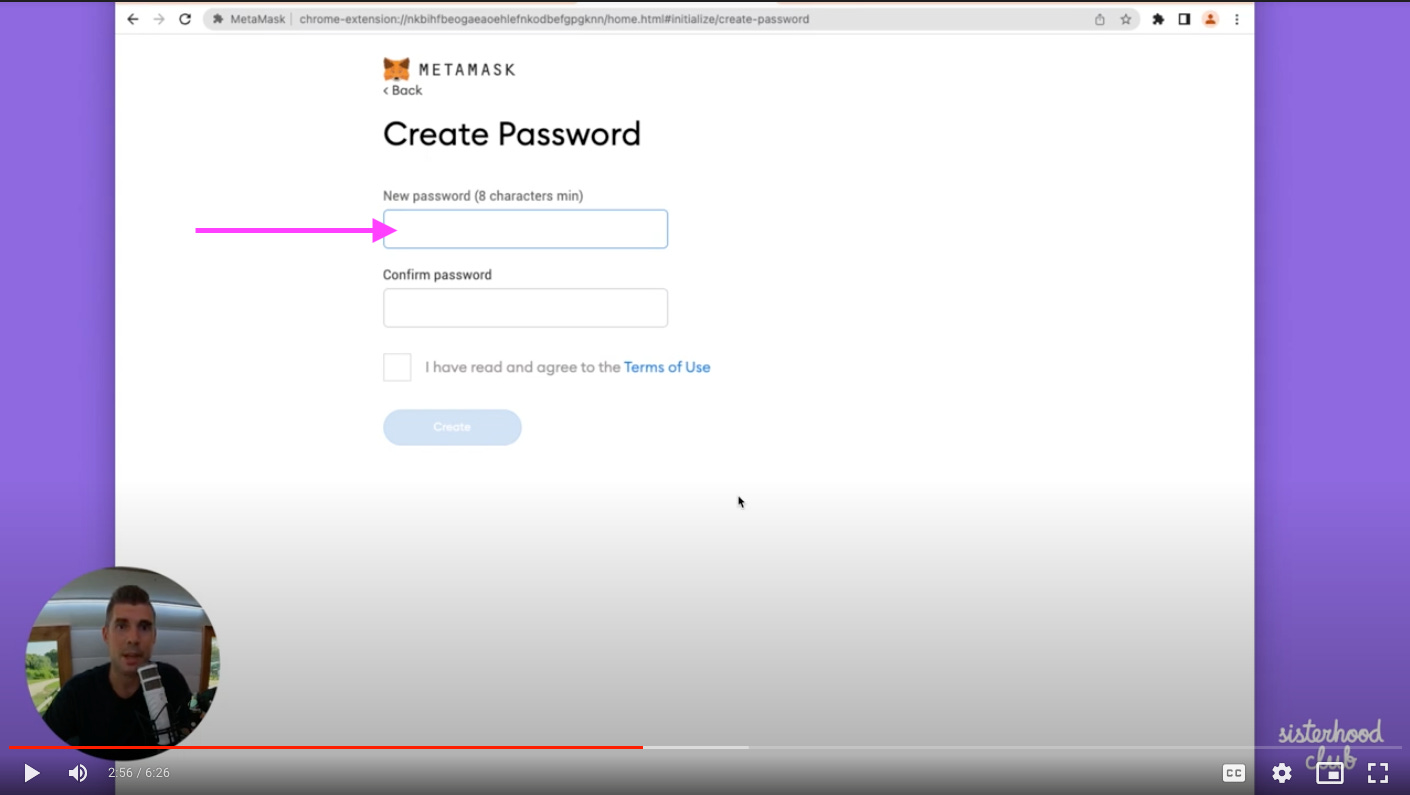
Step 6: Create a password
Note: This is the password to gain access to the extension on the browser you're currently using and NOT your secret recovery phrase.
Enter a password (8 characters minimum).
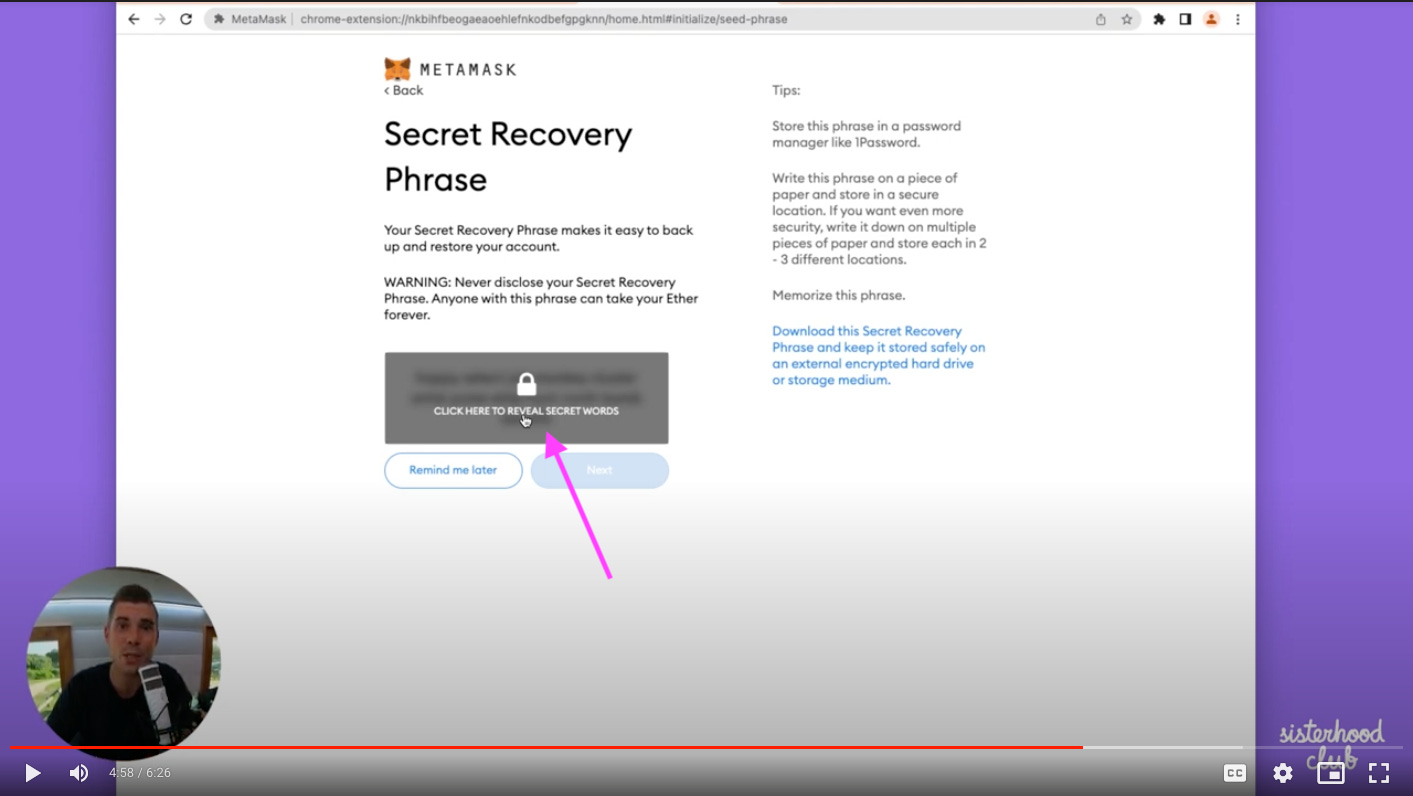
🚨 Step 7: Reveal Your Secret Recovery Phrase 🚨
This is the most important step.
Before you click to reveal your secret words, make sure you are in a private place and nobody else can see over your shoulder.
Think of these words like the keys to your house. Anybody could know your address, but you would never give anyone the keys to get in!
Once you have clicked to reveal your secret words, write them down, and lock them away for safekeeping.
Alternatively, you can always opt for a password manager. Your recovery phrases will be stored in an encrypted database either locally on the user devices or remotely through an online cloud service. Our recommended solutions are 1Password or LastPass.
You can also store your secret recovery phrase in one of your note-taking apps. The Notes for iOS has a lock feature so that you can store your recovery phrases and lock the particular note with a pin. This is the fastest and easiest way to store your recovery phrase. (I would recommend this solution if you not opting for any of the above solutions.)
Step 8: Enter your phrase in the correct order.
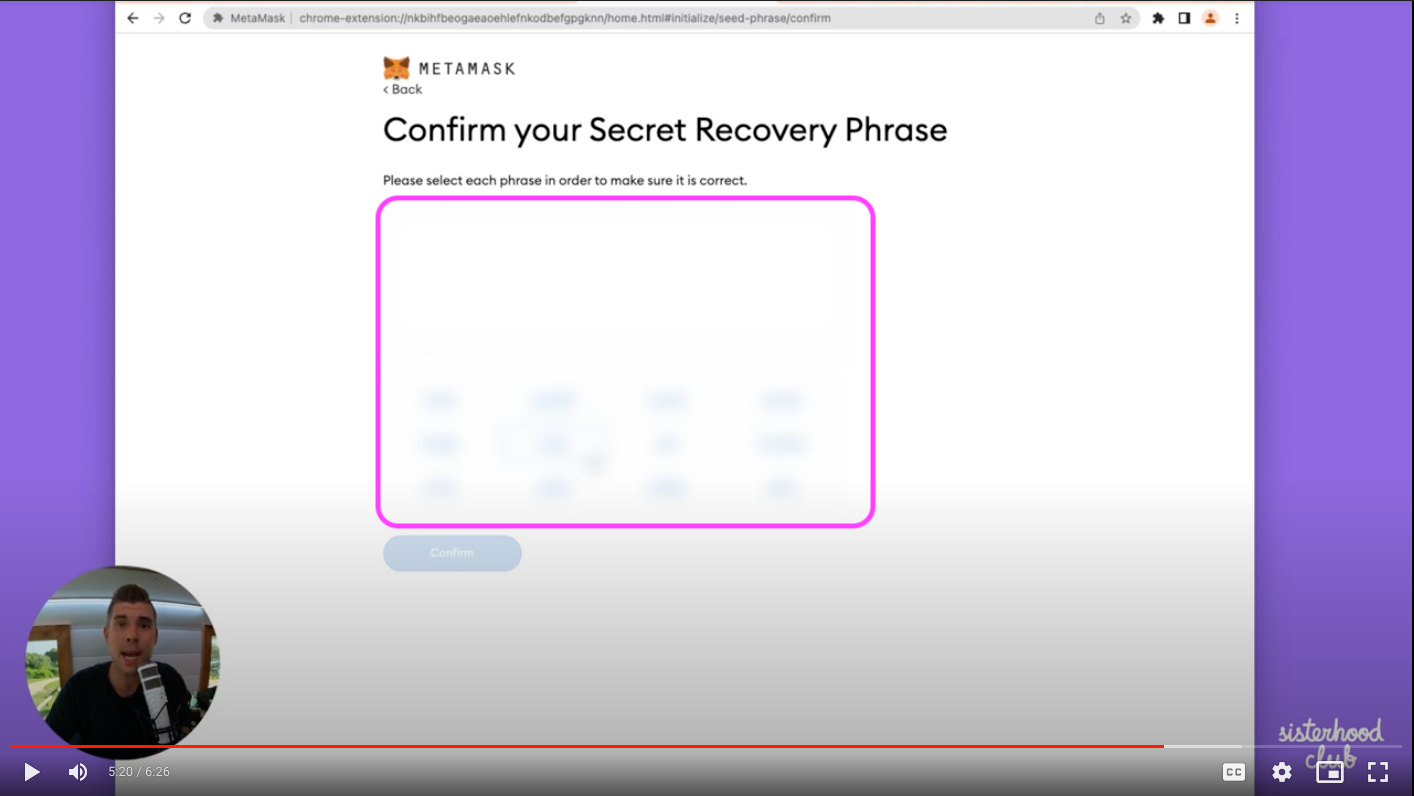
Once you have your words secured. Metamask will ask you to confirm your secret recovery phrase.
All you need to do is select the words in the correct order and press confirm.
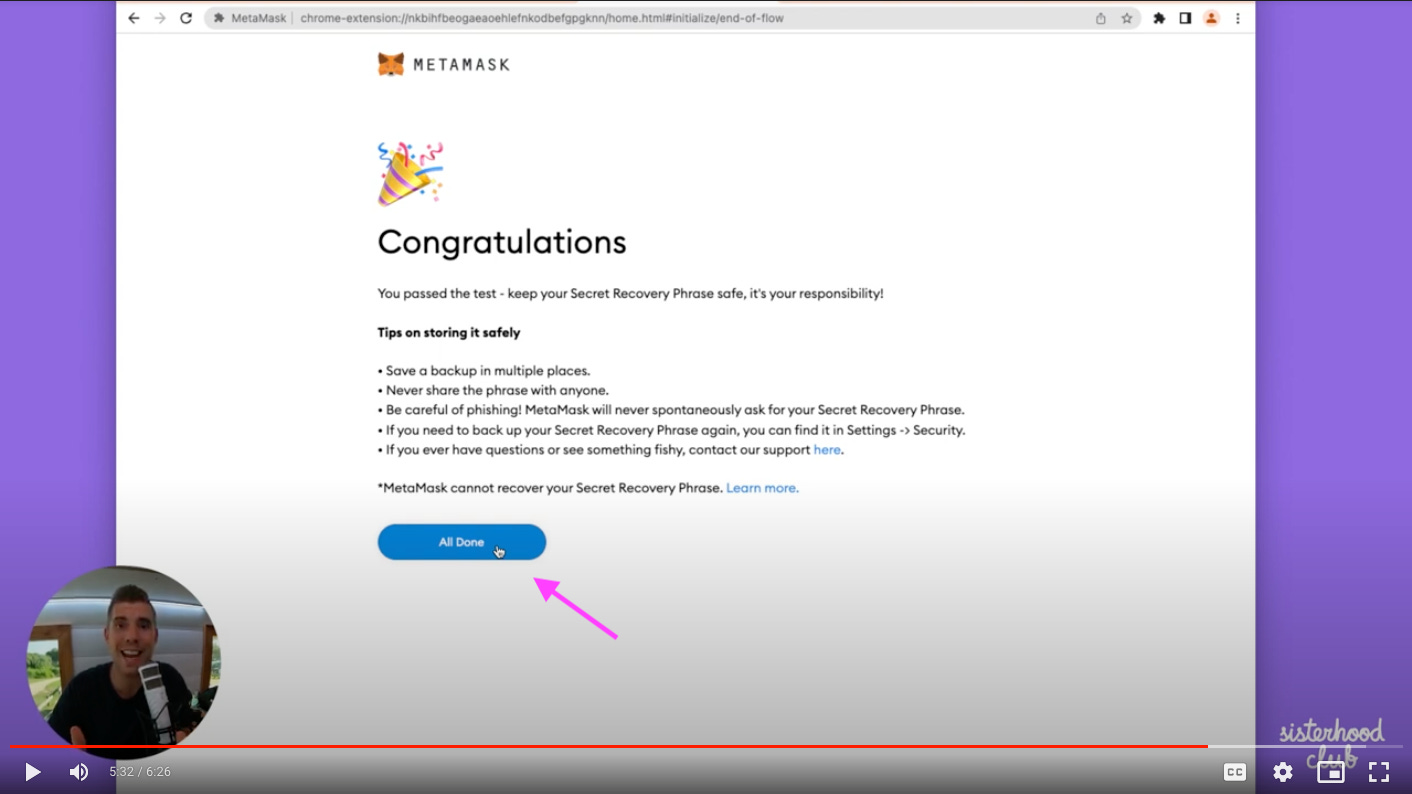
Step 9: Congratulations 🥳 You have successfully created your wallet.
Just press on “all done to be taken to your wallet”.
Congratulations 🥳 You have successfully created a web3 wallet.
Come and join the conversation on Discord and let us know what you thought of this guide.
See you soon,
SHC x


